Investigation of coatings and (boundary) layers
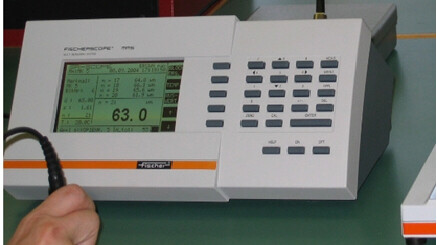
Non-destructive coating thickness measurement
- on plastic and anodised layers on non-magnetic base material
- on metallisations, e.g. copper layers on printed circuit boards
- Galvanic layers and lacquer layers on ferrous materials
Measurement methods
- magnetic inductive (DIN EN ISO 2178)
- magnetic (DIN EN ISO 2178) with eddy current (DIN EN ISO 2360)
- electrical resistance (4 peaks)
- X-ray absorption (XRF)
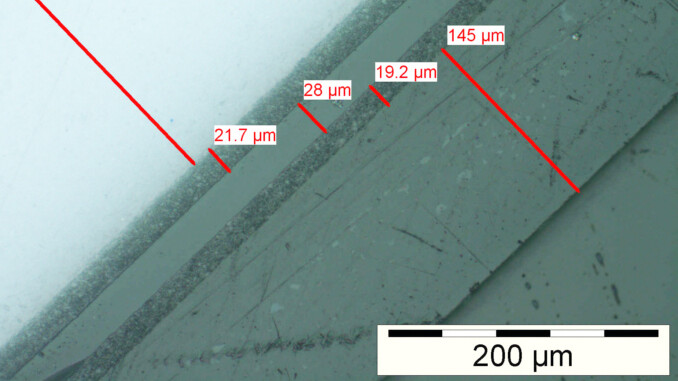
Destructive layer thickness measurement
- for case-hardened and nitrided coatings
- for galvanically grown (multiple) layers
- for metallisations
Measurement methods
- Light microscopy
- Scanning electron microscopy
Determination of layer composition and phase inventory
the chemical composition can be determined for most layers, the determination of the phase state requires crystallinity
Measurement methods
- Light microscopy / scanning electron microscopy
- X-ray spectrometry (XRF or EDX in SEM)
Hardness determination
- for case hardening and nitriding coatings for metallisations
Measurement methods
- Vickers hardness testing
Mapping of defects in a coating and at the interface
- in case of case-hardened, nitrided and anodised coatings (stress and hardening cracks, inclusions, etc.)
- for galvanic coatings and metallisations (delaminations)
- protective coatings (corrosion and reaction products, delamination, cracks)
- for welds (bonding defects, blowholes, cracks)
Mapping methods
- Mapping methods
- Light microscopy (HF, DF, POL, DIC)
- Scanning electron microscopy (HV, VP)


